Baked Ham and Cheese Sliders
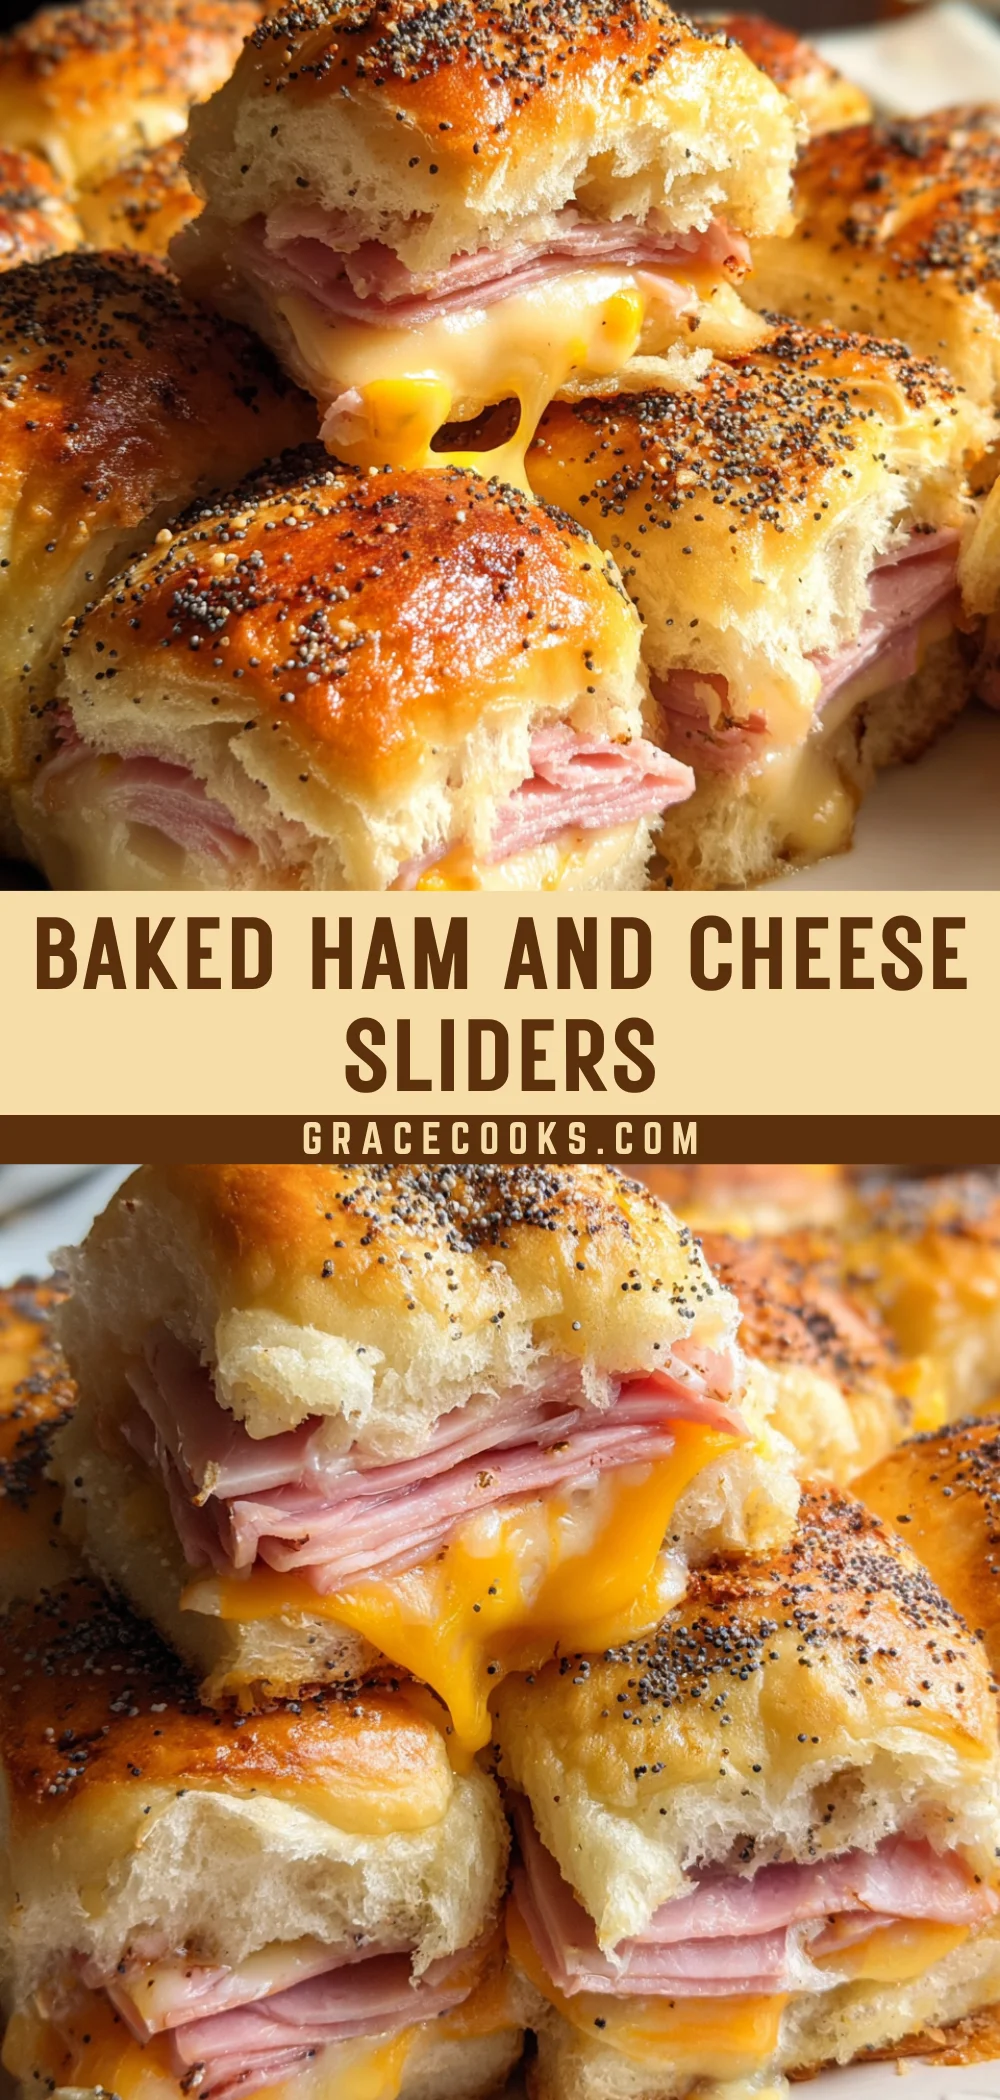
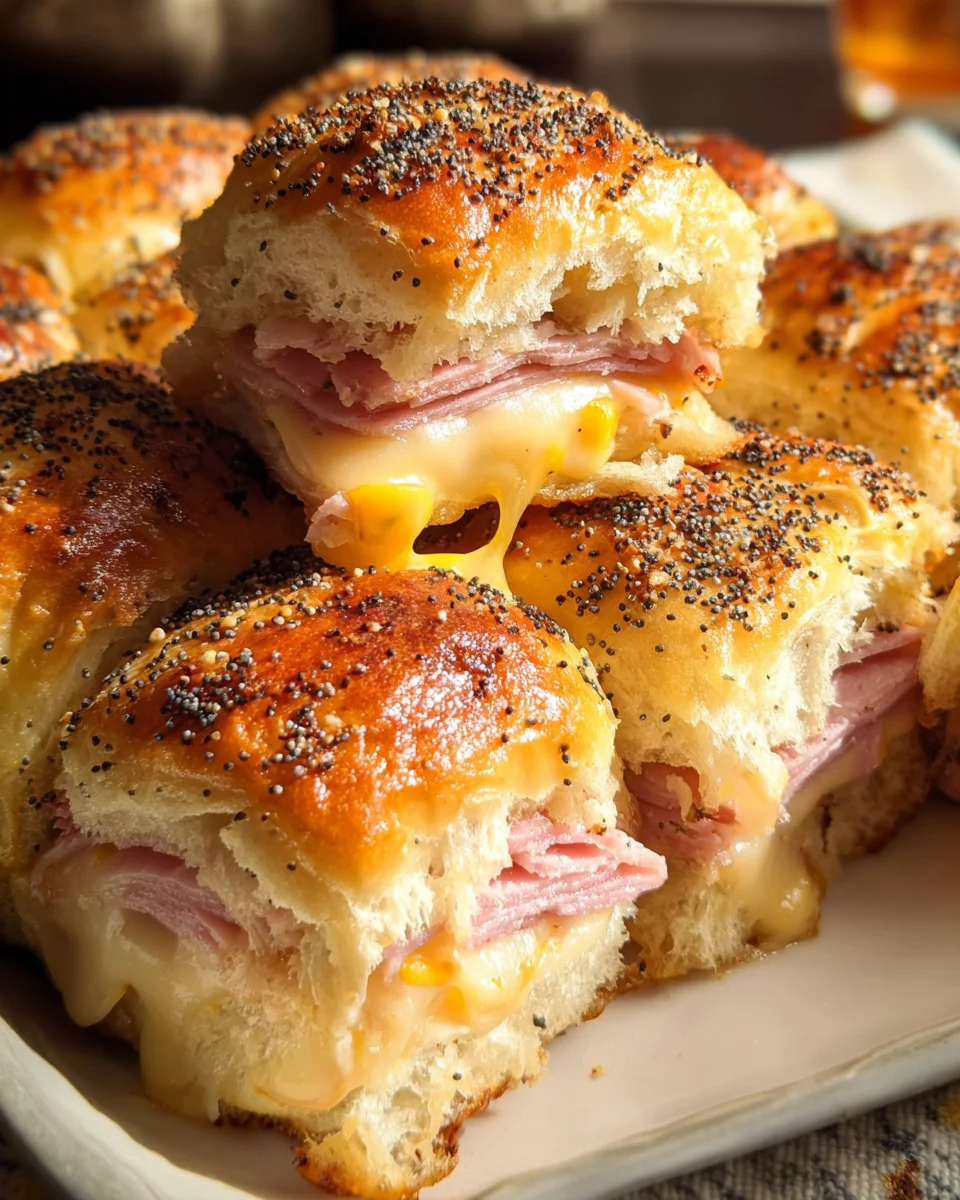
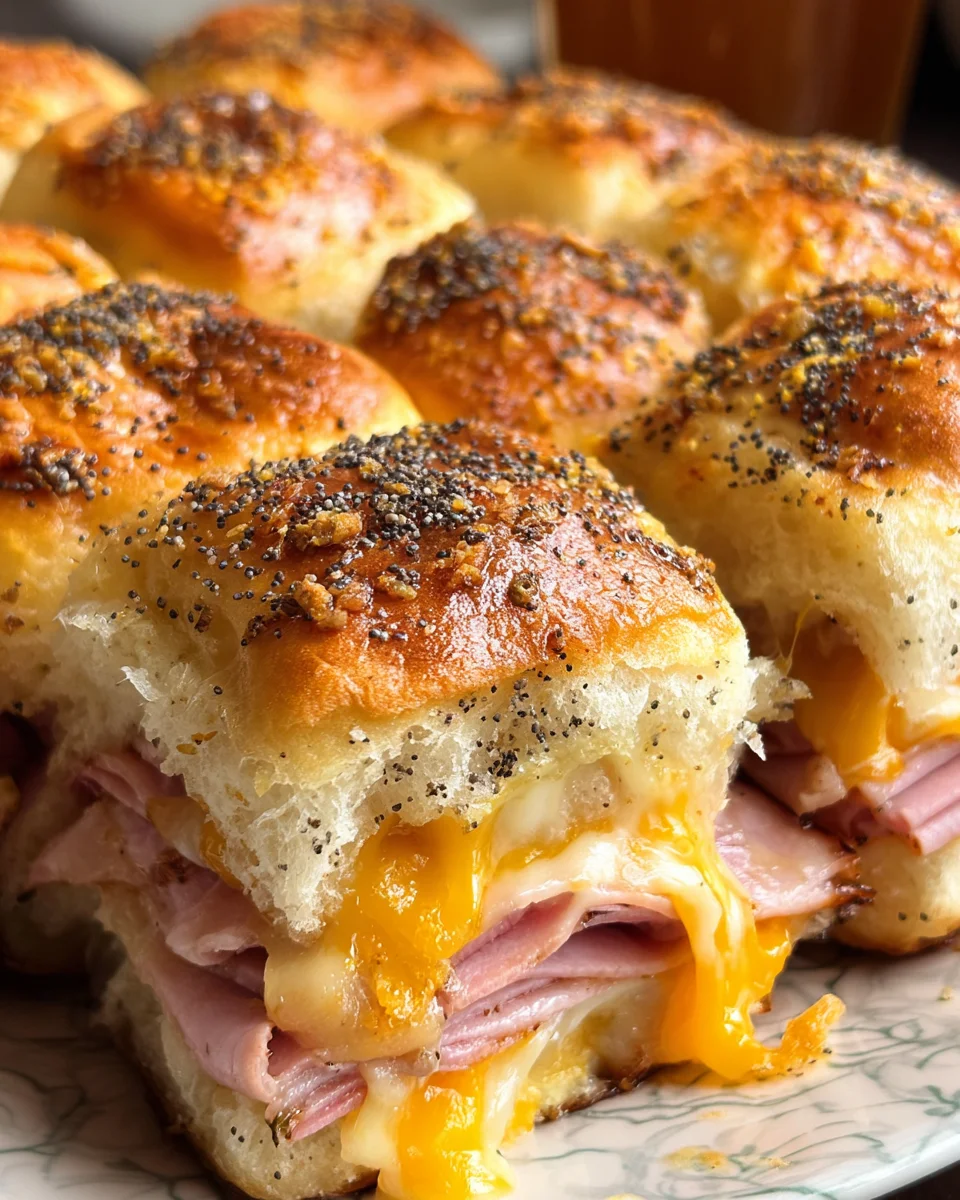
Score a touchdown on your game-day menu with these Baked Ham and Cheese Sliders! Perfect for casual gatherings, these cheesy, buttery, savory sliders are easy to make and irresistibly tasty. They’re delightful for parties, picnics, or even just a cozy night in with the family.
Why You’ll Love This Recipe
- Quick and Easy: With simple ingredients and straightforward steps, these sliders come together in no time.
- Crowd-Pleaser: The combination of ham and cheese is a classic favorite that will satisfy both kids and adults.
- Versatile: You can customize the sliders with your favorite meats or cheeses to suit any taste preference.
- Make Ahead: Prepare the sliders in advance and bake them just before serving for a stress-free meal.
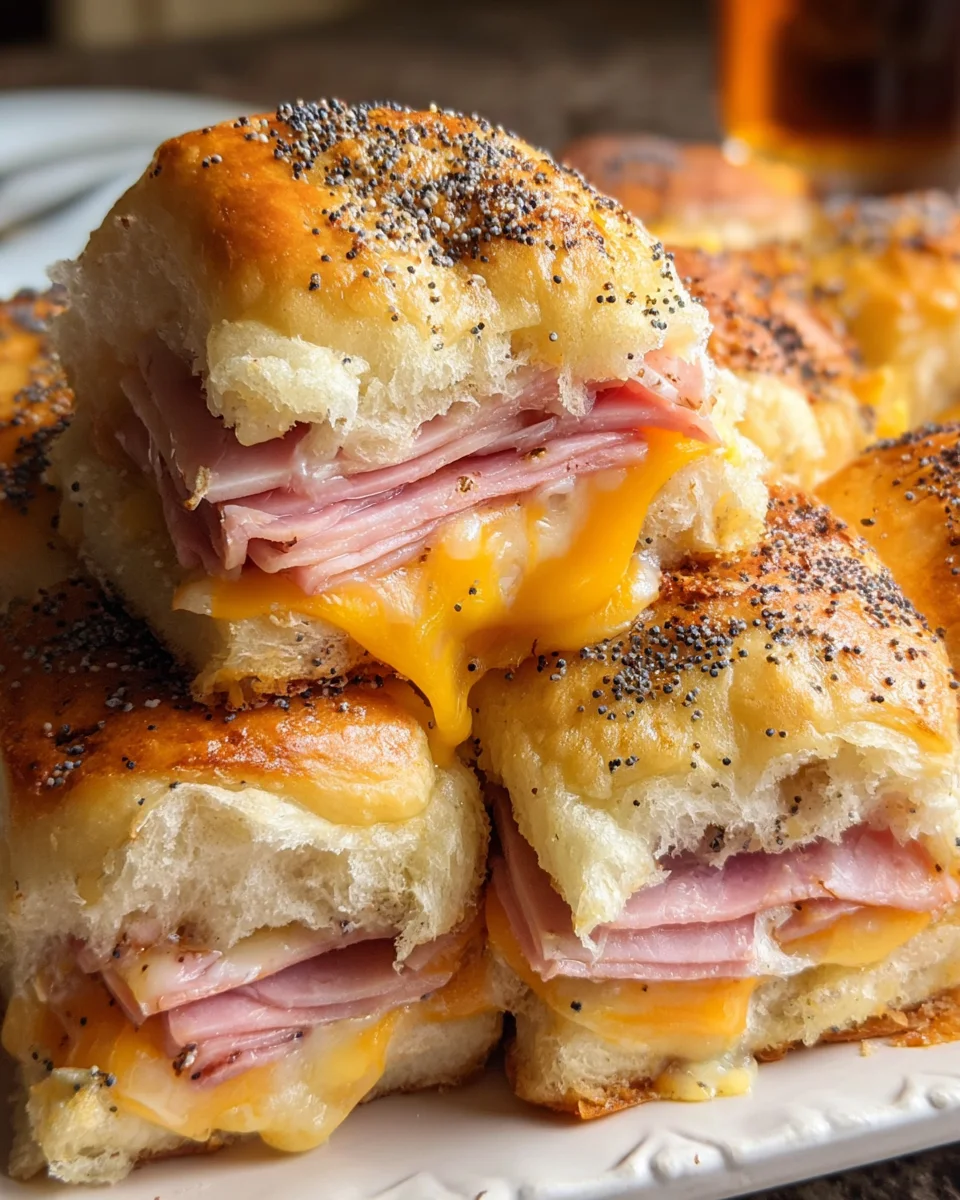
- Perfectly Cheesy: The melted cheddar and Swiss create a gooey texture that’s simply irresistible.
Tools and Preparation
Before diving into this delicious recipe, gather your tools to ensure a smooth cooking process.
Essential Tools and Equipment
- Baking sheet
- Serrated bread knife
- Glass or light-colored ceramic baking dish
- Small mixing bowl
- Basting brush
Importance of Each Tool
- Serrated bread knife: This tool helps you slice through the soft rolls without squishing them, ensuring neat halves.
- Baking dish: A glass or light-colored dish allows for even cooking and prevents burning while baking.
Ingredients
Ingredients:
– 1 package King’s Hawaiian Original Sweet Rolls (12-count)
– 3 tablespoons mayonnaise
– 2 tablespoons Dijon mustard
– 1/2 pound thinly-sliced deli ham (such as Black Forest)
– 1/4 pound deli-sliced sharp cheddar cheese
– 1/4 pound deli-sliced Swiss cheese
– 4 tablespoons unsalted butter, melted
– 1 teaspoon Worcestershire sauce
– 1-1/2 teaspoons poppy seeds
– 1/2 teaspoon onion powder
– pinch kosher salt, if needed
⭐ Join Thousands of Happy Customers Who Love These Coffee Scoops!

How to Make Baked Ham and Cheese Sliders
Step 1: Prepare the Slider Spread
In a small bowl, stir together mayonnaise and 2 tablespoons of Dijon mustard. Mix well to create a smooth spread. Set aside for later use.
Step 2: Slice the Rolls
Using your serrated bread knife, carefully slice the slider buns in half to separate the tops from the bottoms. Place them cut side up on a baking sheet.
Step 3: Broil the Rolls
Preheat your oven’s broiler to high with the rack positioned about 6 inches from the broiler element. Broil the rolls on their cut sides only for 1–2 minutes until lightly toasted. Watch closely to avoid burning!
Step 4: Preheat the Oven
Set your oven to 350 degrees F with the rack in the middle position. Lightly spray your baking dish with cooking spray. If using a darker pan, reduce the temperature to 325 degrees F.
Step 5: Assemble the Bottom Layer
Place the bottom halves of the toasted rolls into the prepared baking dish. Spread more than half of your Dijon-mayo mixture over these rolls evenly.
Step 6: Layer in Cheese and Ham
Assemble your sliders by layering in this order: first place slices of sharp cheddar cheese, then add deli ham, followed by slices of Swiss cheese. Spread any remaining Dijon-mayo onto toasted sides of the top halves of rolls before placing them over the Swiss layer.
Step 7: Add Butter Mixture
In a small bowl, mix together melted butter, Worcestershire sauce, poppy seeds, onion powder, and a pinch of salt if desired. Pour this mixture over your assembled sliders evenly using a basting brush. It’s fine if some butter pools around them in the dish.
Step 8: Bake
Cover with foil and let stand for about five minutes. Bake for approximately 20 minutes until heated through and cheese melts. Remove foil and continue baking for an additional 5–10 minutes until tops are golden brown. Keep an eye on them during this last stage!
Step 9: Serve Hot
Let sliders cool for a few minutes before cutting them into individual servings. Serve warm alongside potato chips, fries, or any favorite sandwich sides!
How to Serve Baked Ham and Cheese Sliders
Baked Ham and Cheese Sliders are incredibly versatile and perfect for any occasion. Whether you’re hosting a game day party or a casual family gathering, here are some delightful serving suggestions to elevate your sliders.
Pair with Classic Sides
- Potato Chips: A crunchy classic that complements the softness of the sliders.
- Pickles: Add a tangy crunch that contrasts beautifully with the cheesy richness.
- Coleslaw: A refreshing side that balances the savory flavors of the sliders.
Create a Slider Platter
- Mini Burgers: Offer an assortment of bite-sized burgers alongside your ham and cheese sliders for variety.
- Vegetable Skewers: Fresh veggies on skewers add a colorful, healthy touch to your spread.
- Fruit Salad: Sweet fruit salad provides a refreshing contrast to the savory sliders.
Dipping Sauces
- Honey Mustard: This sweet and tangy sauce pairs perfectly with ham.
- Barbecue Sauce: Adds a smoky flavor that enhances the overall taste of the sliders.
How to Perfect Baked Ham and Cheese Sliders
To achieve perfectly baked ham and cheese sliders, consider these helpful tips for an irresistible dish.
- Choose Quality Rolls: Use fresh King’s Hawaiian rolls for the best flavor and texture.
- Don’t Skip Toasting: Lightly toast the buns before assembling; this prevents sogginess from the fillings.
- Layer Wisely: Alternate cheese types to create a delicious melty experience in every bite.
- Watch Baking Time: Keep an eye on the baking process to avoid over-browning the tops.
Best Side Dishes for Baked Ham and Cheese Sliders
To round out your meal, consider serving these tasty side dishes alongside your Baked Ham and Cheese Sliders.
- French Fries: Crispy fries are always a hit, providing a satisfying crunch with every bite.
- Sweet Potato Wedges: These offer a slight sweetness that balances well with savory sliders.
- Caesar Salad: A light salad adds freshness and complements the richness of the sliders nicely.
- Macaroni Salad: Creamy macaroni salad is a classic pairing that adds comfort to your meal.
- Garlic Breadsticks: Soft breadsticks brushed with garlic butter enhance the carb-loving experience!
- Corn on the Cob: Grilled or boiled corn brings sweetness and adds color to your plate.
Common Mistakes to Avoid
Making Baked Ham and Cheese Sliders is easy, but there are a few pitfalls to watch out for. Here are some common mistakes to avoid:
- Not Toasting the Rolls: Skipping the broiling step can lead to soggy sliders. Always toast the cut sides of the rolls to enhance flavor and texture.
- Overloading Ingredients: Adding too much ham or cheese can make the sliders difficult to handle. Stick to the recommended amounts for best results.
- Ignoring Butter Mixture: Forgetting to apply the butter mixture can result in bland sliders. Make sure to brush it on generously for that rich flavor.
- Using Cold Ingredients: Starting with cold cheese or ham can prevent even melting. Let these ingredients come to room temperature before assembling.
- Skipping the Foil Cover: Not covering the sliders with foil while baking can lead to over-browning. Cover them initially to keep them soft and warm.
Storage & Reheating Instructions
Refrigerator Storage
- Store leftover sliders in an airtight container in the fridge.
- They will last up to 3 days when properly stored.
Freezing Baked Ham and Cheese Sliders
- Wrap individual sliders tightly in plastic wrap, then place them in a freezer-safe bag.
- They can be frozen for up to 2 months.
Reheating Baked Ham and Cheese Sliders
- Oven: Preheat your oven to 350°F (175°C). Wrap sliders in foil and bake for about 15-20 minutes until heated through.
- Microwave: Heat on a microwave-safe plate for 30 seconds, checking frequently until warmed.
- Stovetop: Place sliders in a skillet over medium heat. Cover with a lid and heat for about 5 minutes, turning occasionally.
Frequently Asked Questions
Here are some common questions about Baked Ham and Cheese Sliders:
How do I customize Baked Ham and Cheese Sliders?
You can easily swap out deli meats or cheeses based on your preference. Turkey, roast beef, or provolone work well!
Can I prepare Baked Ham and Cheese Sliders ahead of time?
Yes! Assemble them and store them covered in the fridge for up to 24 hours before baking.
What sides pair well with Baked Ham and Cheese Sliders?
These sliders go great with potato chips, fries, or a fresh salad for a balanced meal.
Can I use different types of bread?
Of course! While King’s Hawaiian rolls add sweetness, any slider bun or small roll will work beautifully.
Are Baked Ham and Cheese Sliders suitable for parties?
Absolutely! They are easy to make in large batches and are always a hit at gatherings.
Final Thoughts
Baked Ham and Cheese Sliders are not only delicious but also versatile. Whether you’re hosting a game day or looking for an easy weeknight meal, these sliders fit the bill perfectly. Feel free to customize them with your favorite ingredients for an extra personal touch!

Baked Ham and Cheese Sliders
- Total Time: 45 minutes
- Yield: Serves approximately 6 people (12 sliders) 1x
Description
Score big on your next game day with Baked Ham and Cheese Sliders! These easy-to-make sliders feature a mouthwatering combination of ham and cheese nestled between sweet, fluffy rolls. With buttery tops and gooey interiors, they are perfect for parties, picnics, or cozy family nights. You can customize these sliders to suit your taste, making them a versatile option for any gathering. Whether you’re entertaining guests or enjoying a casual meal at home, these sliders are sure to be a crowd-pleaser!
Ingredients
- 1 package King's Hawaiian Original Sweet Rolls (12-count)
- 3 tablespoons mayonnaise
- 2 tablespoons Dijon mustard
- 1/2 pound thinly-sliced deli ham
- 1/4 pound deli-sliced sharp cheddar cheese
- 1/4 pound deli-sliced Swiss cheese
- 4 tablespoons unsalted butter (melted)
- 1 teaspoon Worcestershire sauce
- 1–1/2 teaspoons poppy seeds
- 1/2 teaspoon onion powder
Instructions
- Preheat oven to broil and toast the cut sides of the rolls for 1–2 minutes until lightly browned.
- Set oven to 350°F (175°C) and prepare a baking dish with cooking spray.
- Spread mayonnaise and Dijon mixture on the bottom half of the toasted rolls.
- Layer with cheddar cheese, ham, and Swiss cheese, then place top halves over the filling.
- Mix melted butter, Worcestershire sauce, poppy seeds, onion powder, and brush over the top.
- Cover with foil and bake for about 20 minutes; remove foil and bake for an additional 5–10 minutes until golden brown.
- Prep Time: 15 minutes
- Cook Time: 30 minutes
- Category: Main
- Method: Baking
- Cuisine: American
Nutrition
- Serving Size: 2 sliders (100g)
- Calories: 290
- Sugar: 3g
- Sodium: 680mg
- Fat: 18g
- Saturated Fat: 9g
- Unsaturated Fat: 7g
- Trans Fat: 0g
- Carbohydrates: 23g
- Fiber: 1g
- Protein: 10g
- Cholesterol: 35mg
Amazon's Best Seller Pasta Bowls Are Almost Gone!