Vanilla Wafers
Walk right past the box of vanilla wafers and make your own to enjoy as a snack or with your favorite recipe! These homemade vanilla wafers are not only delicious but also easy to prepare. Perfect for parties, desserts, or just a sweet treat at home, they offer a delightful crunch and a burst of vanilla flavor that you won’t find in store-bought options.

Why You’ll Love This Recipe
- Easy to Make – With simple ingredients and straightforward steps, anyone can whip up these vanilla wafers.
- Versatile Use – Enjoy them plain, use them in desserts, or pair them with your favorite dips.
- Perfect for Any Occasion – Whether it’s a casual snack or a party treat, these wafers fit right in.
- Delicious Flavor – The rich taste of butter and pure vanilla extract makes each bite memorable.
- Large Batch – This recipe yields about 70 wafers, making it great for sharing or storing for later.
Tools and Preparation
Before you dive into making your delicious vanilla wafers, gather your tools and prepare your workspace. Having everything on hand will make the process smoother and more enjoyable.
Grab This Chef Knife Now - Almost Gone!
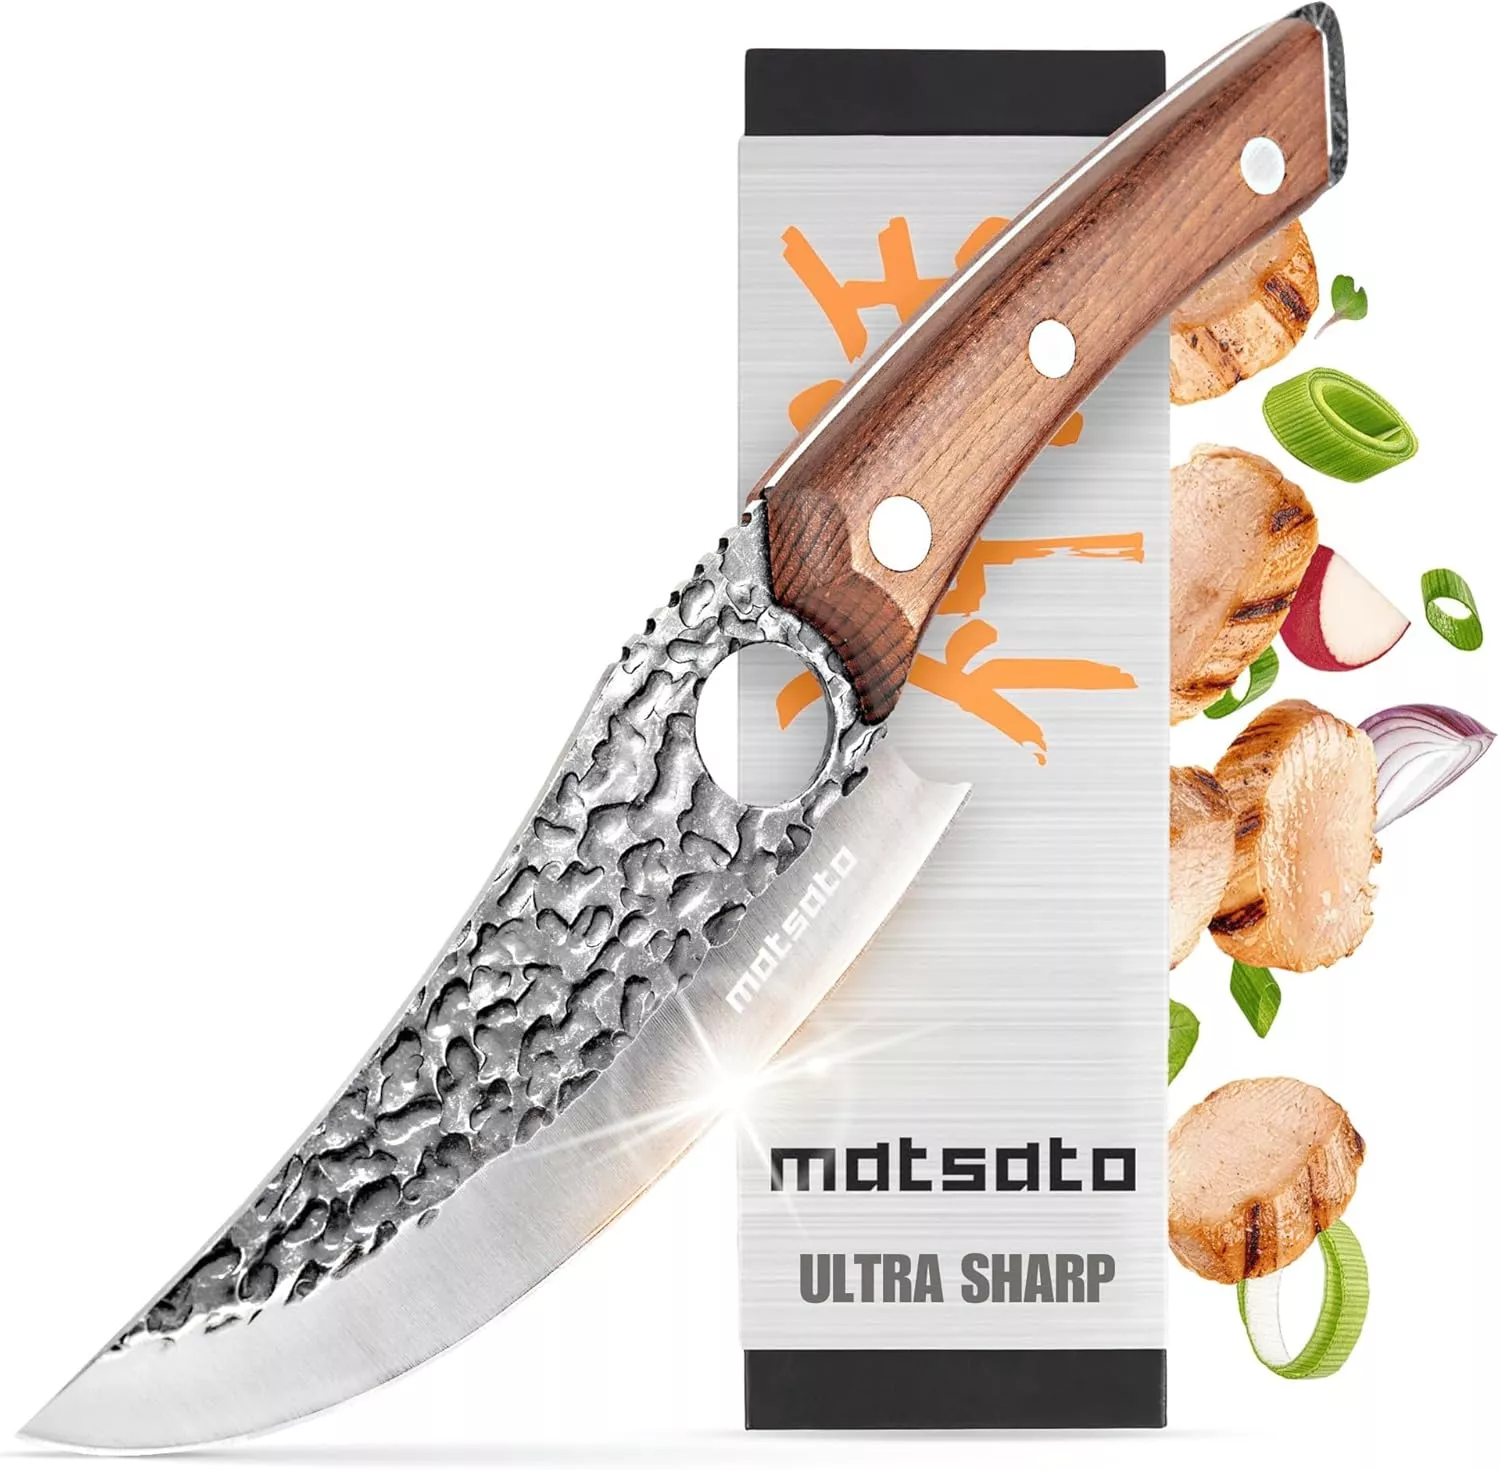
- Stays Razor-Sharp: Ice-hardened blade keeps its edge longer than ordinary knives
- Superior Grip Control: Unique finger hole design gives you perfect balance and safety
- Built to Last a Lifetime: Premium stainless steel blade with elegant beech wood handle
Customer Reviews ★★★★★
Essential Tools and Equipment
- Stand mixer
- Mixing bowls
- Baking sheets
- Parchment paper
- Sifter
Importance of Each Tool
- Stand mixer – This tool helps achieve the perfect creamy consistency when mixing butter and sugars.
- Mixing bowls – Essential for combining ingredients without spilling; having multiple bowls can streamline the process.
- Baking sheets – Provides a sturdy surface for baking your cookies evenly.
Ingredients
Walk right past the box of vanilla wafers and make your own to enjoy as a snack or with your favorite recipe!
For the Wafer Base
- 1 ½ cups all-purpose flour
- ¾ teaspoon baking powder
- ½ teaspoon Kosher salt
For the Sweetness
- ½ cup unsalted butter, (room temperature)
- ½ cup confectioners’ sugar
- ¼ cup granulated sugar
For Flavor
- 1 large egg, (room temperature)
- 1 tablespoon vanilla extract
- 1 tablespoon whole milk
How to Make Vanilla Wafers
Step 1: Preheat the Oven
Preheat your oven to 350°F. This ensures that your vanilla wafers bake evenly.
Step 2: Prepare Dry Ingredients
In a medium bowl, sift together the flour, baking powder, and salt. Set aside for later use.
Step 3: Cream Butter and Sugars
In the bowl of a stand mixer, cream together the unsalted butter, confectioners’ sugar, and granulated sugar. Mix on medium speed for at least 2 minutes. Be sure to scrape down the sides of the bowl as needed.
Step 4: Add Wet Ingredients
Add the large egg, vanilla extract, and milk. Blend until smooth and fluffy—this should take about 30 seconds.
Step 5: Combine Dry Ingredients
Gradually add the flour mixture to the wet ingredients. Mix on low speed until fully incorporated.
Step 6: Chill Batter
Chill the batter in the refrigerator for about 10-15 minutes. This helps maintain shape while baking.
Step 7: Scoop onto Baking Sheet
Scoop dollops of batter (about 1/2 teaspoon each) onto a baking sheet lined with parchment paper. Space them about an inch apart.
Step 8: Bake
Bake in your preheated oven for 12-15 minutes. Remember to rotate the pan halfway through baking for even cooking. The cookies should turn golden brown.
Step 9: Cool Before Serving
Allow the vanilla wafers to cool completely on a wire rack before serving. Enjoy your homemade treat!
How to Serve Vanilla Wafers
Vanilla wafers are a versatile treat that can be enjoyed in many delightful ways. Whether you crave something sweet or want to add a crunchy element to your dish, these homemade vanilla wafers are perfect for any occasion.
Pairing with Desserts
- Ice Cream Topping: Crushed vanilla wafers make an excellent topping for ice cream, adding a crunchy texture and sweet flavor.
- Banana Pudding Layer: Use vanilla wafers as a layer in classic banana pudding for added crunch and flavor.
- Cheesecake Crust: Blend vanilla wafers into crumbs and mix with butter to create a delicious crust for cheesecake.
Enjoying as Snacks
- With Coffee or Tea: Enjoy vanilla wafers with your morning coffee or afternoon tea for a simple yet satisfying snack.
- Dipped in Chocolate: Melt some chocolate and dip the wafers for an indulgent treat that’s sure to please.
- Fruit Dip Companion: Serve them alongside fruit dips like chocolate or caramel for an exciting snack platter.
Creative Plating Ideas
- Dessert Charcuterie Board: Include vanilla wafers on a dessert charcuterie board with fruits, nuts, and various dips.
- Festive Holiday Treats: Decorate vanilla wafers with festive icing and sprinkles during holidays for a fun treat.

How to Perfect Vanilla Wafers
To ensure your homemade vanilla wafers come out perfectly every time, follow these handy tips.
- Boldly Chill the Dough: Chilling the dough helps prevent spreading while baking, resulting in perfectly shaped cookies.
- Boldly Measure Ingredients Accurately: Using precise measurements ensures the right texture and taste in your vanilla wafers.
- Boldly Rotate Your Baking Sheet: Rotating the pan halfway through baking promotes even cooking and browning of the cookies.
- Boldly Keep an Eye on Baking Time: Start checking your cookies at the 12-minute mark to avoid overbaking; they should be golden brown.
- Boldly Store Properly: Store cooled vanilla wafers in an airtight container to maintain their crispiness longer.
Best Side Dishes for Vanilla Wafers
Vanilla wafers pair beautifully with various side dishes. Here are some ideas to complement your homemade treats.
- Fruit Salad: A fresh fruit salad adds a burst of color and sweetness that pairs well with the crispy texture of vanilla wafers.
- Yogurt Parfait: Layer yogurt with fruit and crumbled vanilla wafers for a delicious breakfast or snack option.
- Chocolate Fondue: Serve warm chocolate fondue with vanilla wafers for dipping; it creates an interactive dessert experience.
- Cheese Platter: Accompany your vanilla wafers with cheeses; the sweet notes balance savory flavors beautifully.
- Whipped Cream Dip: Whip up a light cream dip flavored with vanilla or almond extract as a delightful companion to your cookies.
- Nut Mix: A mix of nuts adds crunch and protein, making it an excellent pairing alongside sweet vanilla wafers.
Common Mistakes to Avoid
Making your own Vanilla Wafers is fun and rewarding, but there are a few common pitfalls to watch out for.
- Ignoring Room Temperature Ingredients: Using cold butter or eggs can lead to uneven mixing. Always make sure your butter and eggs are at room temperature for a smooth batter.
- Not Sifting Dry Ingredients: Skipping the sifting process can result in clumps in your batter. Sift together flour, baking powder, and salt for a light texture.
- Overmixing the Batter: Mixing too much after adding the flour can make the wafers tough. Mix just until incorporated for a tender cookie.
- Skipping the Chilling Step: If you don’t chill your batter, the cookies may spread too much while baking. Allowing the batter to chill helps them hold their shape.
- Not Rotating the Baking Sheet: Failing to rotate your baking sheet halfway through can lead to uneven baking. This simple step ensures all cookies bake uniformly.

Storage & Reheating Instructions
Refrigerator Storage
- Store in an airtight container for up to 1 week.
- Place parchment paper between layers to prevent sticking.
Freezing Vanilla Wafers
- Freeze in an airtight container or freezer bag for up to 3 months.
- Lay wax paper between layers to keep them separate.
Reheating Vanilla Wafers
- Oven: Preheat to 350°F and warm for about 5-7 minutes for that fresh-baked taste.
- Microwave: Heat on medium power for 10-15 seconds, just until warmed through.
- Stovetop: Place on a skillet over low heat for about 2 minutes, flipping carefully.
Frequently Asked Questions
If you’re curious about making these delicious Vanilla Wafers, you might have some questions.
Can I substitute ingredients in Vanilla Wafers?
Yes, you can substitute different types of sugar or use gluten-free flour if needed. Just be aware that this may change the texture slightly.
How do I make Vanilla Wafer cookies crunchier?
To achieve a crunchier texture, bake them a minute or two longer, but watch closely to avoid burning.
What can I serve with Vanilla Wafers?
These wafers pair wonderfully with ice cream, puddings, or as toppings on desserts like banana pudding.
Can I flavor my Vanilla Wafers?
Absolutely! You can add spices like cinnamon or nutmeg, or even mix in chocolate chips for extra flavor.
Final Thoughts
These homemade Vanilla Wafers are not only easy to prepare but also incredibly versatile. They serve as a delightful snack on their own or as an ingredient in various desserts. Feel free to customize them by adding flavors or mix-ins that you love!

Homemade Vanilla Wafers
- Total Time: 30 minutes
- Yield: Approximately 70 wafers 1x
Description
Indulge in the delightful crunch of homemade vanilla wafers that elevate your snacking game or add a special touch to your favorite desserts. These light and crispy cookies are bursting with rich vanilla flavor, making them perfect for any occasion—from casual snacks to elegant party treats. With simple ingredients and quick preparation steps, you’ll have about 70 delicious wafers ready to enjoy in no time. Serve them alongside ice cream, layer them in banana pudding, or simply enjoy them on their own for a nostalgic treat that everyone will love.
Ingredients
- 1 ½ cups all-purpose flour
- ¾ teaspoon baking powder
- ½ teaspoon Kosher salt
- ½ cup unsalted butter (room temperature)
- ½ cup confectioners' sugar
- ¼ cup granulated sugar
- 1 large egg (room temperature)
- 1 tablespoon vanilla extract
- 1 tablespoon whole milk
Instructions
- Preheat your oven to 350°F.
- In a bowl, sift together flour, baking powder, and salt; set aside.
- In a stand mixer, cream butter with confectioners' and granulated sugars until fluffy.
- Add the egg, vanilla extract, and milk; blend until smooth.
- Gradually mix in dry ingredients until just combined.
- Chill the batter in the refrigerator for 10-15 minutes.
- Scoop dollops of batter onto a parchment-lined baking sheet, spacing them apart.
- Bake for 12-15 minutes or until golden brown; rotate halfway through.
- Allow cooling on a wire rack before serving.
- Prep Time: 15 minutes
- Cook Time: 15 minutes
- Category: Dessert
- Method: Baking
- Cuisine: American
Nutrition
- Serving Size: 1 wafer
- Calories: 38
- Sugar: 2g
- Sodium: 16mg
- Fat: 2g
- Saturated Fat: 1g
- Unsaturated Fat: 1g
- Trans Fat: 0g
- Carbohydrates: 4g
- Fiber: <1g
- Protein: <1g
- Cholesterol: 10mg


 30")

 32")