Key Lime Pie Bars
These Key Lime Pie Bars are the perfect dessert for any occasion, combining the sweet and tart flavors that make key lime pie a favorite. With their creamy texture and refreshing taste, they are ideal for summer picnics, backyard barbecues, or simply enjoying on a warm afternoon. Easy to make and even easier to love, these bars offer a delightful twist on a classic dessert.

Why You’ll Love This Recipe
- Quick and Easy: This recipe is simple to follow, making it perfect for bakers of all skill levels. You can whip them up in just 55 minutes.
- Refreshing Flavor: The bright, zesty flavor of key limes brings a refreshing twist that is especially enjoyable on hot days.
- Versatile Dessert: Whether you serve them at a party or as an everyday treat, these bars are sure to impress family and friends.
- No Baking Required: The crust sets beautifully without the need for complicated baking techniques, making the process hassle-free.
- Make Ahead Option: These bars can be made in advance and stored in the fridge, making them great for planning ahead.
Tools and Preparation
Before you start making your Key Lime Pie Bars, gather all your tools and equipment. Having everything ready will streamline your cooking process.
Grab This Chef Knife Now - Almost Gone!
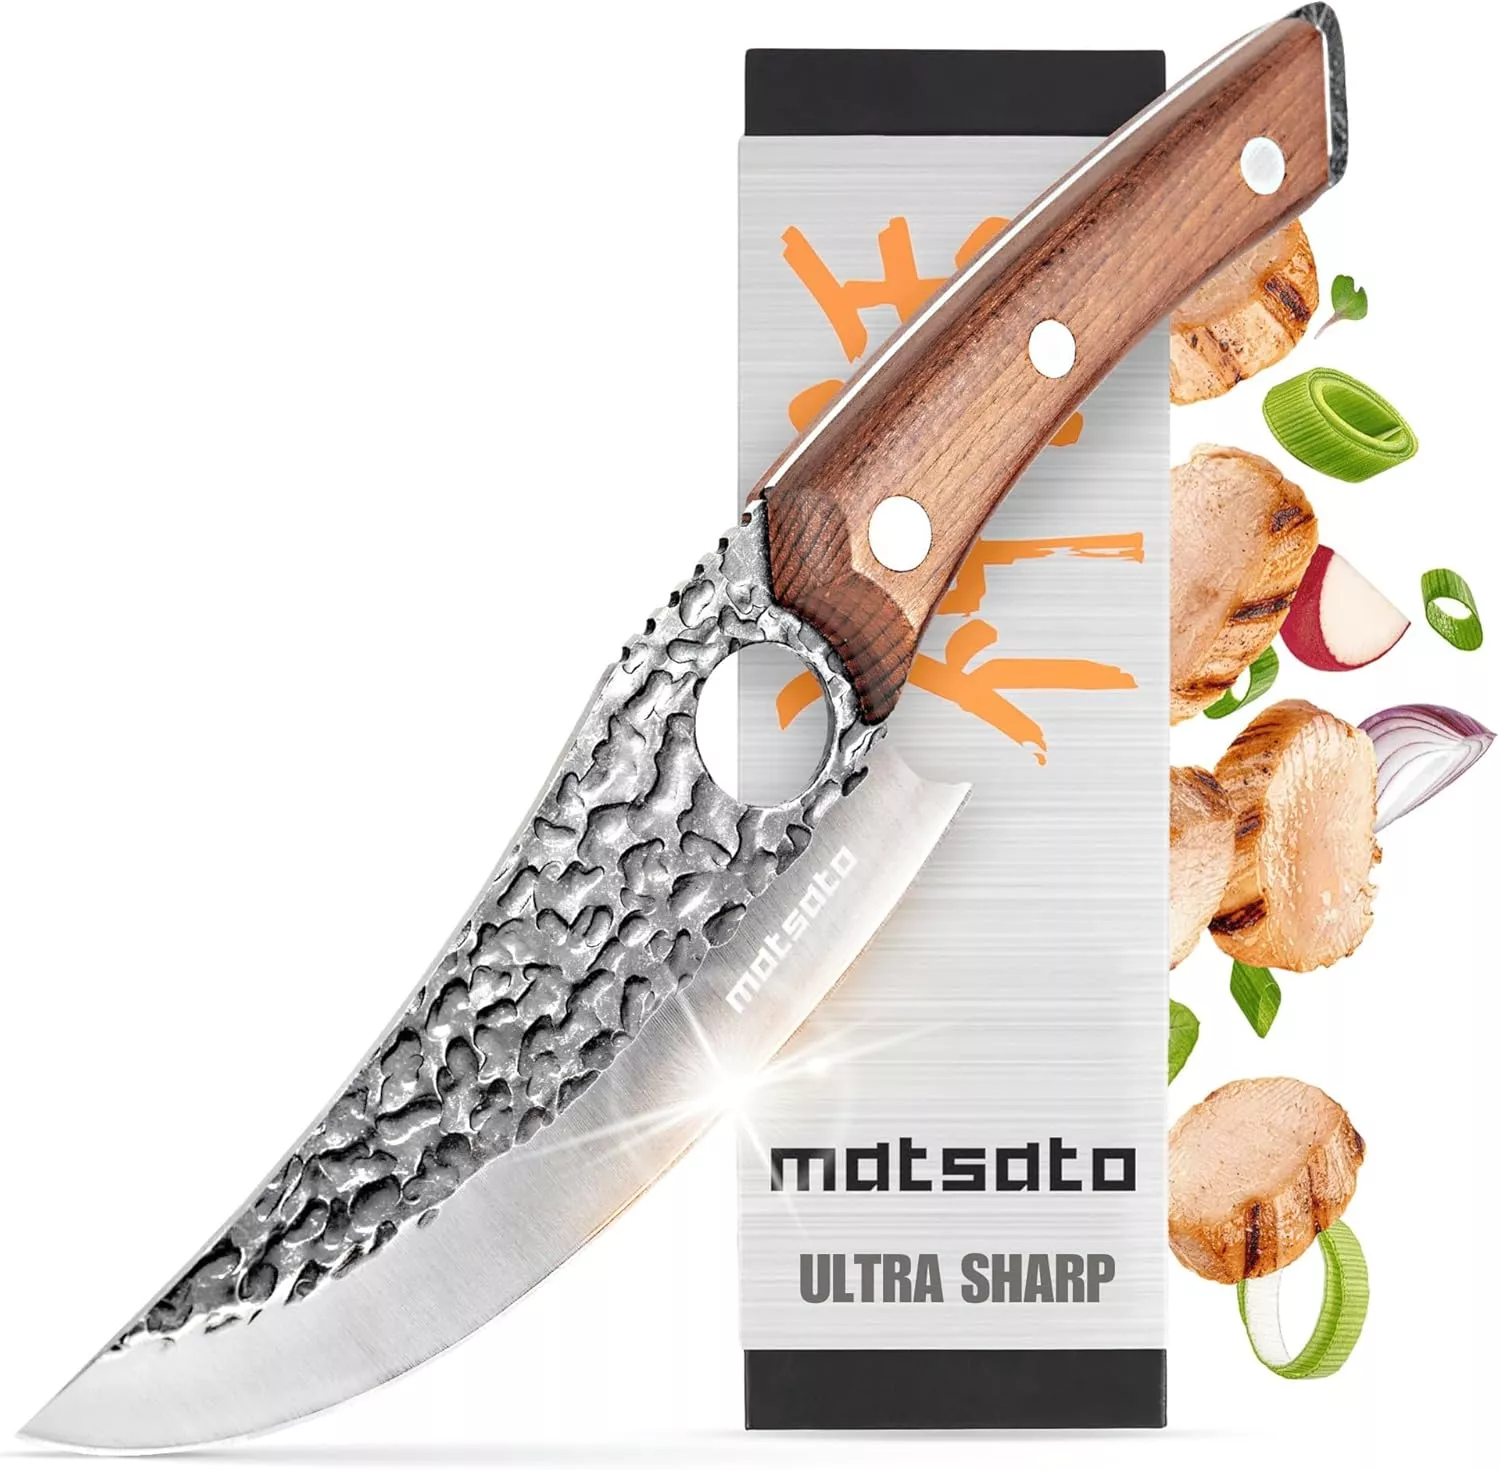
- Stays Razor-Sharp: Ice-hardened blade keeps its edge longer than ordinary knives
- Superior Grip Control: Unique finger hole design gives you perfect balance and safety
- Built to Last a Lifetime: Premium stainless steel blade with elegant beech wood handle
Customer Reviews ★★★★★
Essential Tools and Equipment
- 9×13-inch baking dish
- Mixing bowls
- Whisk
- Rubber spatula
- Measuring cups and spoons
Importance of Each Tool
- 9×13-inch baking dish: This size is perfect for creating thick bars that can be easily cut into squares.
- Mixing bowls: Having multiple bowls allows you to mix ingredients separately without cross-contamination.
- Whisk: A good whisk helps achieve a smooth custard-like filling for your key lime pie bars.
- Rubber spatula: Ideal for scraping down the sides of bowls and ensuring no ingredient gets left behind.
Ingredients
These perfectly tart and tangy key lime pie bars are a breeze to make and are delicious served straight from the fridge on a hot summer day!
For the Crust
- 2 cups vanilla wafer cookies, finely ground (250 g)
- 5 tablespoons unsalted butter, melted
- 2 tablespoons light brown sugar
For the Filling
- 1 tablespoon lime zest, packed (6-7 key limes)
- 5 large egg yolks
- 22 ounces sweetened condensed milk (1 14-ounce can and ¾ cup from 2nd can)
- 1 cup freshly squeezed lime juice
For the Topping
- 1 cup heavy whipping cream
- 2 tablespoons powdered sugar
How to Make Key Lime Pie Bars
Step 1: Prepare the Crust
- Preheat your oven to 350°F (175°C).
- In a mixing bowl, combine the finely ground vanilla wafer cookies, melted butter, and light brown sugar.
- Press this mixture firmly into the bottom of your greased 9×13-inch baking dish to form an even crust.
- Bake in the preheated oven for about 10 minutes until set. Remove from oven and let cool slightly.
Step 2: Make the Filling
- In another bowl, whisk together lime zest and egg yolks until well combined.
- Gradually add sweetened condensed milk while continuing to whisk until smooth.
- Stir in freshly squeezed lime juice until everything is fully incorporated.
Step 3: Bake the Bars
- Pour the key lime filling over the cooled crust in your baking dish.
- Bake for an additional 15-20 minutes or until set but still slightly jiggly in the center.
- Remove from oven and allow to cool at room temperature before refrigerating for at least two hours.
Step 4: Prepare the Topping
- In a mixing bowl, whip heavy cream with powdered sugar until soft peaks form.
- Once chilled, cut your key lime pie bars into squares and top each square with whipped cream before serving.
Enjoy these delightful Key Lime Pie Bars chilled from the fridge!
How to Serve Key Lime Pie Bars
Key Lime Pie Bars are a refreshing treat perfect for summer gatherings or any occasion. Here are some delightful ways to serve them that will impress your guests.
Chill with Whipped Cream
- Top each bar with a generous dollop of freshly whipped cream for a creamy contrast to the tartness.
Garnish with Lime Slices
- Add thin lime slices or wedges on top for a vibrant presentation and extra zing.
Pair with Fresh Berries
- Serve alongside fresh strawberries, blueberries, or raspberries to enhance the flavor profile and add color.
Create a Dessert Platter
- Arrange the bars on a platter with other desserts like brownies and cookies for a sweet spread that appeals to everyone.
Serve with Ice Cream
- Offer a scoop of vanilla or coconut ice cream on the side for a cool complement to the tangy bars.

How to Perfect Key Lime Pie Bars
Perfecting Key Lime Pie Bars is all about balance and technique. Here are some tips to help you achieve the best results.
-
Use fresh limes: Freshly squeezed lime juice provides better flavor than bottled varieties, enhancing the tartness of your bars.
-
Chill properly: Allow the bars to chill in the refrigerator for several hours before serving. This helps them set firmly and improves texture.
-
Avoid overbaking: Keep an eye on your bars while they bake. They should be set but still slightly jiggly in the center for the best texture.
-
Experiment with crusts: While vanilla wafers work well, try using graham crackers or even crushed macadamia nuts for a unique crust twist.
-
Add toppings: Consider drizzling melted chocolate or adding toasted coconut flakes for an extra layer of flavor and texture.
Best Side Dishes for Key Lime Pie Bars
When serving Key Lime Pie Bars, consider these delightful side dishes that pair perfectly with their bright flavors.
-
Coconut Macaroons: These chewy treats provide a sweet contrast to the tartness of the bars and are easy to make.
-
Fruit Salad: A mix of tropical fruits like pineapple, mango, and kiwi complements the citrus notes beautifully.
-
Chocolate Chip Cookies: Classic cookies are always a crowd-pleaser and balance well against tangy desserts.
-
Pineapple Sorbet: This light frozen treat refreshes your palate after enjoying Key Lime Pie Bars.
-
Grilled Peaches: Sweet grilled peaches add a smoky sweetness that pairs wonderfully with lime flavors.
-
Lemonade: A tall glass of homemade lemonade enhances the citrus theme while keeping things refreshing.
Common Mistakes to Avoid
Making Key Lime Pie Bars can be simple, but there are common pitfalls to watch out for.
- Using stale cookies: Ensure your vanilla wafer cookies are fresh to maintain the perfect crust texture.
- Overbaking the filling: Keep an eye on the baking time. Overbaking can result in a rubbery texture. Remove them when set but still slightly jiggly.
- Skipping the lime zest: The zest adds essential flavor and aroma. Don’t skip it for a more vibrant taste!
- Not chilling properly: Allow your bars to cool completely before refrigerating. Chilling helps them set and enhances flavor.
- Ignoring measurements: Accurate measurements are key for success. Use a kitchen scale or measuring cups for precision.

Storage & Reheating Instructions
Refrigerator Storage
- Store your Key Lime Pie Bars in an airtight container.
- They will last up to 5 days in the fridge, maintaining freshness.
Freezing Key Lime Pie Bars
- Wrap individual squares in plastic wrap or foil.
- Place them in an airtight container or freezer bag.
- They can be frozen for up to 3 months; just thaw before serving.
Reheating Key Lime Pie Bars
- Oven: Preheat to 350°F (175°C). Heat for about 10 minutes for best results.
- Microwave: Heat on medium power for about 15-20 seconds per square until warm.
- Stovetop: Place in a skillet over low heat, covering with a lid until warmed through.
Frequently Asked Questions
What are the main ingredients in Key Lime Pie Bars?
The primary ingredients include vanilla wafer cookies, unsalted butter, key limes, sweetened condensed milk, and egg yolks.
How do I make my Key Lime Pie Bars more tart?
To increase tartness, add more freshly squeezed lime juice or increase the lime zest amount.
Can I substitute other types of limes?
Yes! You can use Persian limes instead of key limes, but it may alter the flavor slightly.
Can I make Key Lime Pie Bars ahead of time?
Absolutely! These bars can be made a day or two in advance; just store them in the refrigerator until ready to serve.
Final Thoughts
These Key Lime Pie Bars are not only easy to prepare but also delightfully refreshing. Perfect for summer gatherings or as an everyday treat, they offer versatility with customization options such as adding coconut or berries. Give this recipe a try and enjoy the zesty flavors!

Key Lime Pie Bars
- Total Time: 45 minutes
- Yield: Serves approximately 12 squares 1x
Description
Indulge in the refreshing delight of Key Lime Pie Bars, a perfect dessert that combines sweet and tart flavors in every bite. These bars are not only easy to make but also offer a creamy texture and zesty taste that’s ideal for summer picnics, backyard barbecues, or simply enjoying on a warm afternoon. With no complicated baking techniques required, you can whip them up quickly, making them an impressive treat for family and friends. Serve them chilled with whipped cream or fresh berries for an irresistible twist on the classic key lime pie.
Ingredients
- 2 cups vanilla wafer cookies, finely ground
- 5 tablespoons unsalted butter, melted
- 22 ounces sweetened condensed milk
- 1 cup freshly squeezed lime juice
- 5 large egg yolks
- 1 tablespoon lime zest
- 1 cup heavy whipping cream
Instructions
- Preheat your oven to 350°F (175°C) and prepare a greased 9×13-inch baking dish.
- Combine ground vanilla wafers, melted butter, and brown sugar in a bowl; press into the bottom of the baking dish. Bake for 10 minutes.
- Whisk together lime zest and egg yolks; add sweetened condensed milk and lime juice until smooth.
- Pour filling over cooled crust and bake for another 15-20 minutes until set but slightly jiggly in the center. Cool at room temperature then refrigerate for at least two hours.
- Whip heavy cream with powdered sugar until soft peaks form. Cut bars, top with whipped cream, and serve.
- Prep Time: 15 minutes
- Cook Time: 30 minutes
- Category: Dessert
- Method: Baking
- Cuisine: American
Nutrition
- Serving Size: 1 square (85g)
- Calories: 210
- Sugar: 14g
- Sodium: 70mg
- Fat: 12g
- Saturated Fat: 7g
- Unsaturated Fat: 4g
- Trans Fat: 0g
- Carbohydrates: 23g
- Fiber: 1g
- Protein: 3g
- Cholesterol: 70mg


