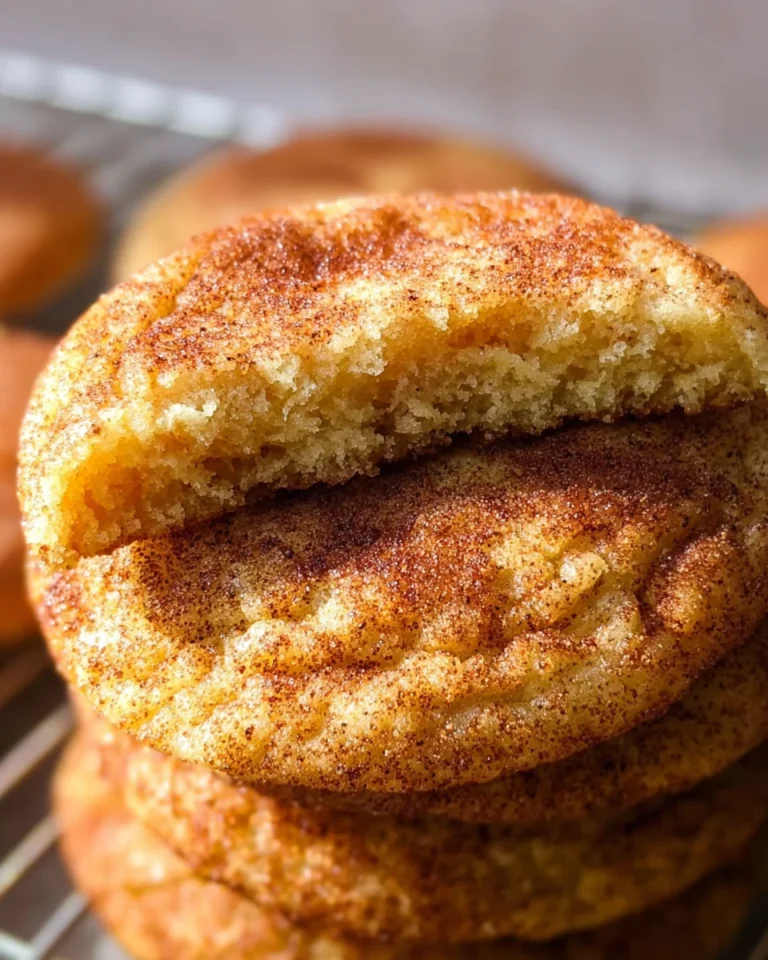
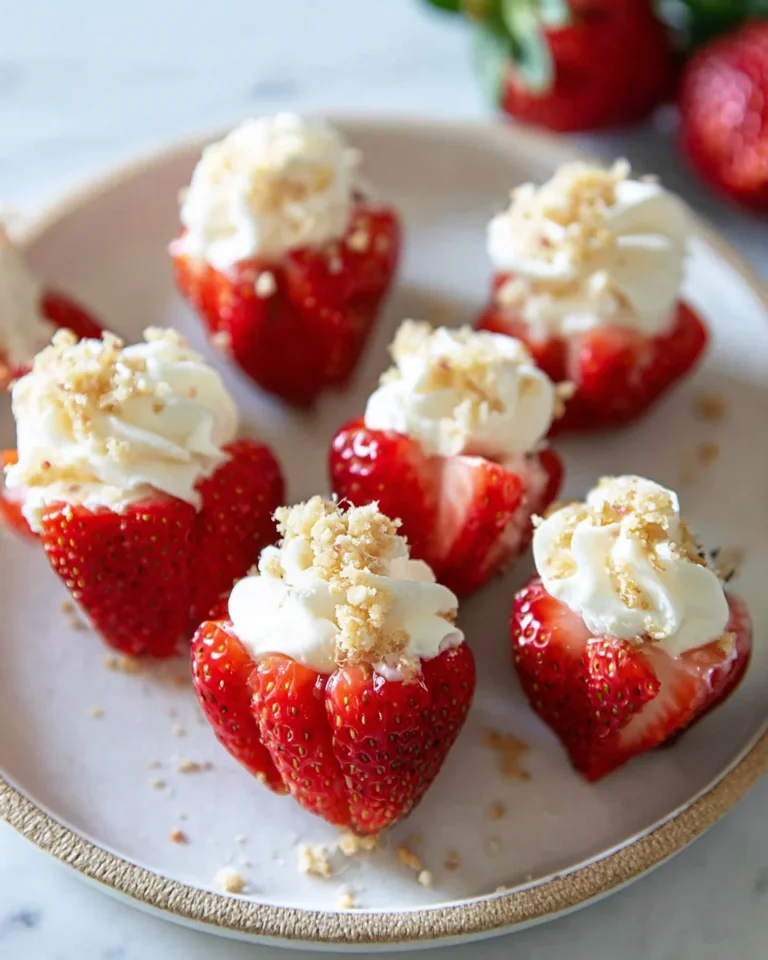
Mini Lemon Cheesecake Tarts
With a delightful blend of creamy cheesecake and zesty lemon, Mini Lemon Cheesecake Tarts are the perfect bite-sized treats for any spring or summer gathering. These no-bake desserts are not only simple to make but also highly customizable, allowing you to add your favorite fruits on top. Whether it’s a birthday, picnic, or casual get-together, these mini tarts will impress your guests and leave them wanting more.
Why You’ll Love This Recipe
- Quick and Easy: This recipe comes together in just 20 minutes of prep time, making it ideal for last-minute dessert needs.
- No Baking Required: Enjoy the simplicity of creating a delicious dessert without turning on the oven.
- Versatile Garnish Options: Top with fresh fruit or fruit preserves to match any occasion or preference.
- Perfectly Portion-Controlled: Each tart is a single serving, making them easy to enjoy at parties without the mess.
- Light and Refreshing Flavor: The tangy lemon filling offers a refreshing taste that perfectly complements the creamy cheesecake base.
Tools and Preparation
To create these delicious Mini Lemon Cheesecake Tarts, you’ll need some essential kitchen tools that will make the process smooth and enjoyable.
Grab This Chef Knife Now - Almost Gone!
- Stays Razor-Sharp: Ice-hardened blade keeps its edge longer than ordinary knives
- Superior Grip Control: Unique finger hole design gives you perfect balance and safety
- Built to Last a Lifetime: Premium stainless steel blade with elegant beech wood handle
Customer Reviews ★★★★★
Essential Tools and Equipment
- Mixing bowl
- Electric mixer
- Measuring cups
- Measuring spoons
- Muffin tin (for mini tarts)
- Rubber spatula
Importance of Each Tool
- Mixing bowl: Provides ample space to combine all ingredients thoroughly.
- Electric mixer: Ensures a smooth and creamy cheesecake filling without lumps.
- Muffin tin: Perfect shape for holding each mini tart securely while setting in the fridge.
Ingredients
For these delightful Mini Lemon Cheesecake Tarts, gather the following ingredients:
For the Crust
- 1 cup graham cracker crumbs (5 ounces, or 10 crackers crushed)
- 2 tablespoons granulated sugar
- 6 tablespoons unsalted butter (melted)
For the Filling
- 1 8-oz package cream cheese (softened)
- 1/2 cup sugar
- 2 teaspoons lemon zest (divided)
- 2 tablespoons lemon juice (freshly squeezed)
- 1/3 cup heavy whipping cream
- 1/4 teaspoon vanilla extract
For Garnish
- Fresh fruit or fruit preserves
How to Make Mini Lemon Cheesecake Tarts
Step 1: Prepare the Crust
To begin, preheat your refrigerator. In a mixing bowl, combine graham cracker crumbs and granulated sugar. Then, pour in melted butter and mix until everything is well combined.
Step 2: Shape the Crusts
Press the crumb mixture firmly into the bottom of each muffin tin cavity to form an even layer. Chill in the refrigerator while you prepare the filling.
Step 3: Make the Filling
In another mixing bowl, beat softened cream cheese until smooth using an electric mixer. Gradually add sugar and continue mixing until fully incorporated. Add 1 teaspoon of lemon zest, lemon juice, heavy whipping cream, and vanilla extract. Beat until fluffy.
Step 4: Assemble Tarts
Spoon the cheesecake filling into each chilled crust, smoothing it out with a rubber spatula. Use remaining lemon zest as a garnish if desired.
Step 5: Chill and Serve
Cover the muffin tin with plastic wrap and refrigerate for at least 2 hours or until firm. Once set, gently remove each tart from the muffin tin and top with fresh fruit or preserves before serving. Enjoy your delicious Mini Lemon Cheesecake Tarts!
How to Serve Mini Lemon Cheesecake Tarts
These delightful Mini Lemon Cheesecake Tarts are versatile and can be served in various ways to enhance your dessert table. Whether it’s a casual gathering or a formal event, these tarts are sure to impress.
For a Casual Gathering
- Outdoor Picnic: Serve the tarts on a platter at your next picnic. They’re easy to transport and perfect for sharing.
- Family Movie Night: Pair them with popcorn and other finger foods for a sweet treat while enjoying your favorite film.
At a Formal Event
- Elegant Dessert Table: Arrange the tarts on tiered stands for an eye-catching display. Add some fresh flowers for added elegance.
- Wedding Reception: These mini tarts make beautiful wedding desserts. Consider customizing them with edible flowers for a romantic touch.
As Party Favors
- Individual Boxes: Package each tart in small boxes tied with ribbon. This makes for a charming gift that guests can take home.
- Themed Events: Customize the toppings based on the party theme, such as berries for summer or chocolate drizzle for winter events.

How to Perfect Mini Lemon Cheesecake Tarts
To achieve the best results with your Mini Lemon Cheesecake Tarts, consider these helpful tips.
- crust preparation: Ensure you press the graham cracker mixture firmly into the tart pans to create a sturdy base.
- room temperature ingredients: Use softened cream cheese and butter to ensure smooth mixing and prevent lumps in the filling.
- fresh lemon juice: Always use freshly squeezed lemon juice for the best flavor; bottled juice lacks freshness.
- chill time: Allow the tarts to chill for at least two hours before serving. This helps set the filling and enhances flavors.
- garnish wisely: Top each tart just before serving with fresh fruit or preserves to keep them looking vibrant and fresh.
Best Side Dishes for Mini Lemon Cheesecake Tarts
When serving Mini Lemon Cheesecake Tarts, pairing them with complementary side dishes can elevate your dessert experience. Here are some excellent options:
- mixed berry salad: A refreshing mix of strawberries, blueberries, and raspberries offers a fruity balance that pairs well with lemon flavors.
- vanilla ice cream: Adding a scoop of creamy vanilla ice cream creates a delightful contrast in texture and temperature.
- whipped cream: A dollop of freshly whipped cream adds lightness and enhances the sweet-tart profile of the cheesecake tarts.
- citrus sorbet: Offer a scoop of lemon or orange sorbet as a palate cleanser between bites, enhancing the citrus notes of the tarts.
- chocolate-covered strawberries: The richness of chocolate complements the tanginess of lemon, creating an irresistible combination.
- herbal tea selection: Serve herbal teas like chamomile or mint to provide a soothing beverage option alongside your dessert spread.
Common Mistakes to Avoid
Making Mini Lemon Cheesecake Tarts can be fun, but a few common mistakes can lead to less-than-perfect results. Here are some pitfalls to avoid.
- Skipping the chilling time: Not allowing the tarts to set properly in the fridge can result in a runny filling. Always chill for at least two hours before serving.
- Using cold cream cheese: Cold cream cheese can lead to lumps in your filling. Make sure it’s softened to room temperature for a smooth texture.
- Overmixing the filling: Mixing too vigorously can incorporate air and cause cracks. Mix just until combined for the best texture.
- Not measuring ingredients accurately: Baking is precise, and using too much or too little of an ingredient can affect your tarts. Use measuring cups and spoons for accuracy.
- Neglecting garnish options: Leaving out fresh fruit or preserves can make your tarts less appealing. Get creative with garnishes to enhance flavor and presentation.

Storage & Reheating Instructions
Refrigerator Storage
- Store leftover mini lemon cheesecake tarts in an airtight container.
- They will keep well in the refrigerator for up to 3 days.
Freezing Mini Lemon Cheesecake Tarts
- You can freeze these mini tarts for up to one month.
- Wrap each tart individually in plastic wrap, then place them in a freezer-safe container.
Reheating Mini Lemon Cheesecake Tarts
- Oven: Preheat the oven to 350°F (175°C). Warm the tarts for about 10 minutes.
- Microwave: Heat on medium power for 15-20 seconds. Be cautious not to overheat.
- Stovetop: Place tarts in a pan over low heat, cover, and warm for about 5 minutes.
Frequently Asked Questions
Here are some frequently asked questions about Mini Lemon Cheesecake Tarts that might help you further.
Can I use a different crust for Mini Lemon Cheesecake Tarts?
Yes! You can use cookie crumb crusts like Oreos or even nut-based crusts for a gluten-free option.
How do I make these Mini Lemon Cheesecake Tarts dairy-free?
To make them dairy-free, substitute cream cheese with a plant-based alternative and use coconut cream instead of heavy whipping cream.
What fruits pair well with Mini Lemon Cheesecake Tarts?
Fruits like berries, kiwi, or even mango complement the lemon flavor beautifully. Feel free to experiment!
Can I prepare Mini Lemon Cheesecake Tarts ahead of time?
Absolutely! You can make these tarts a day ahead and store them in the refrigerator until serving time.
Final Thoughts
Mini Lemon Cheesecake Tarts are not only delightful treats but also versatile enough for various occasions. Their light and tangy flavors make them perfect for spring and summer gatherings. Experiment with different toppings or crusts to customize them further! Enjoy making this delicious recipe!

Mini Lemon Cheesecake Tarts
- Total Time: 0 hours
- Yield: Makes approximately 12 mini tarts 1x
Description
Mini Lemon Cheesecake Tarts are the ultimate no-bake dessert, perfect for any spring or summer gathering. These bite-sized treats combine the rich creaminess of cheesecake with a zesty lemon twist, making them irresistibly refreshing. In just 20 minutes of preparation, you can create these delightful tarts that will impress your guests and satisfy your sweet cravings. Customize them with fresh fruit or fruit preserves to suit any occasion, whether it’s a birthday party, picnic, or casual get-together. Enjoy these elegant desserts that promise to be the highlight of your dessert table.
Ingredients
- 1 cup graham cracker crumbs
- 2 tablespoons granulated sugar
- 6 tablespoons unsalted butter (melted)
- 1 package (8 oz) cream cheese (softened)
- 1/2 cup sugar
- 2 teaspoons lemon zest (divided)
- 2 tablespoons freshly squeezed lemon juice
- 1/3 cup heavy whipping cream
- 1/4 teaspoon vanilla extract
- Fresh fruit or fruit preserves for garnish
Instructions
- Prepare the crust: In a mixing bowl, combine graham cracker crumbs and sugar. Stir in melted butter until mixed well.
- Shape the crusts: Press the mixture firmly into each cavity of a muffin tin and chill in the refrigerator.
- Make the filling: Beat softened cream cheese until smooth. Add sugar, one teaspoon lemon zest, lemon juice, heavy whipping cream, and vanilla extract; mix until fluffy.
- Assemble tarts: Spoon filling into each chilled crust and smooth out with a spatula. Garnish with remaining lemon zest if desired.
- Chill and serve: Cover and refrigerate for at least two hours before serving with fresh fruit or preserves on top.
- Prep Time: 20 minutes
- Cook Time: None
- Category: Dessert
- Method: No-Bake
- Cuisine: American
Nutrition
- Serving Size: 1 serving
- Calories: 180
- Sugar: 10g
- Sodium: 120mg
- Fat: 12g
- Saturated Fat: 7g
- Unsaturated Fat: 4g
- Trans Fat: 0g
- Carbohydrates: 15g
- Fiber: 0g
- Protein: 2g
- Cholesterol: 30mg


